
Before & After Gallery
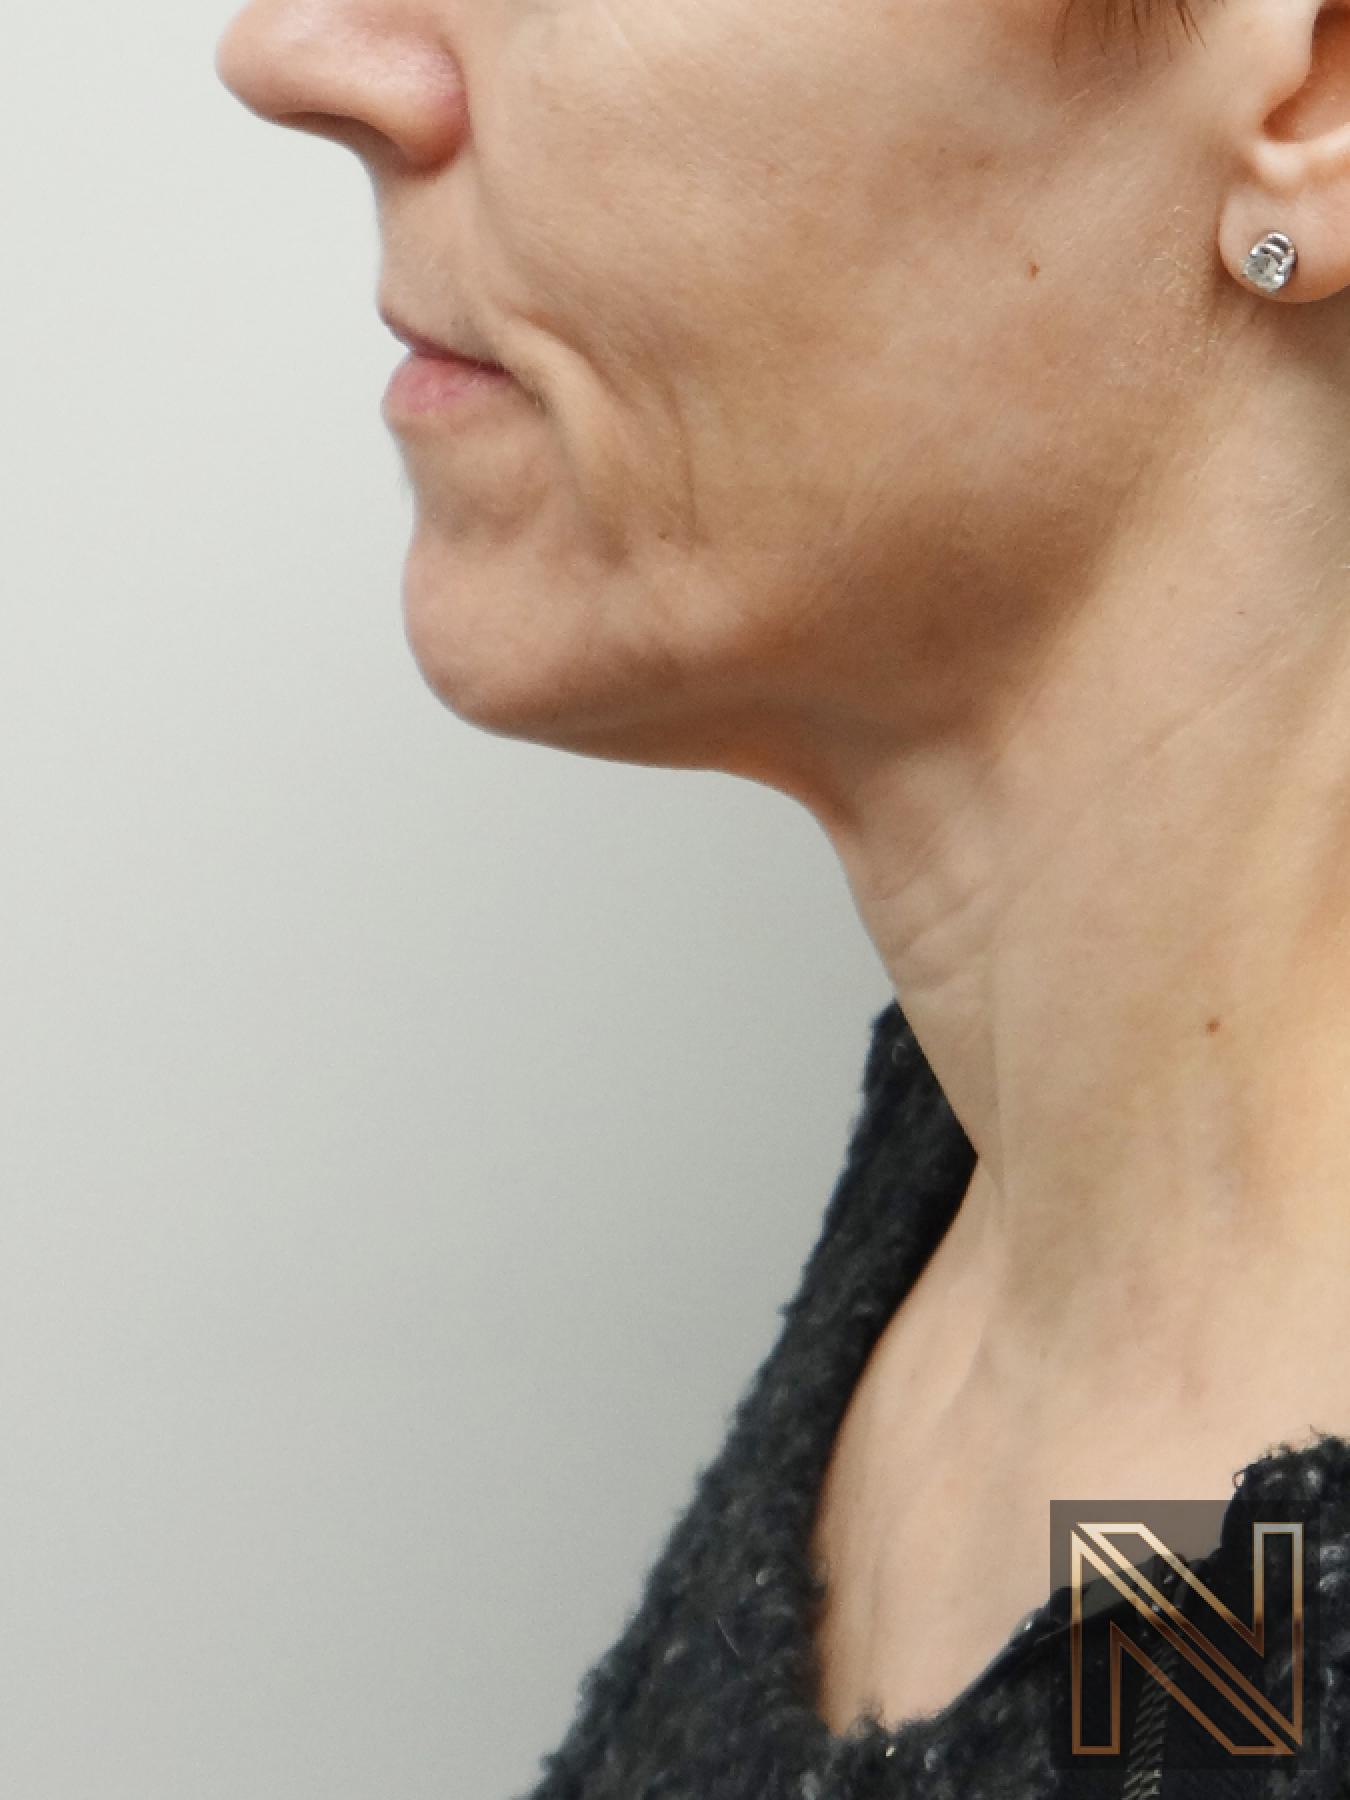
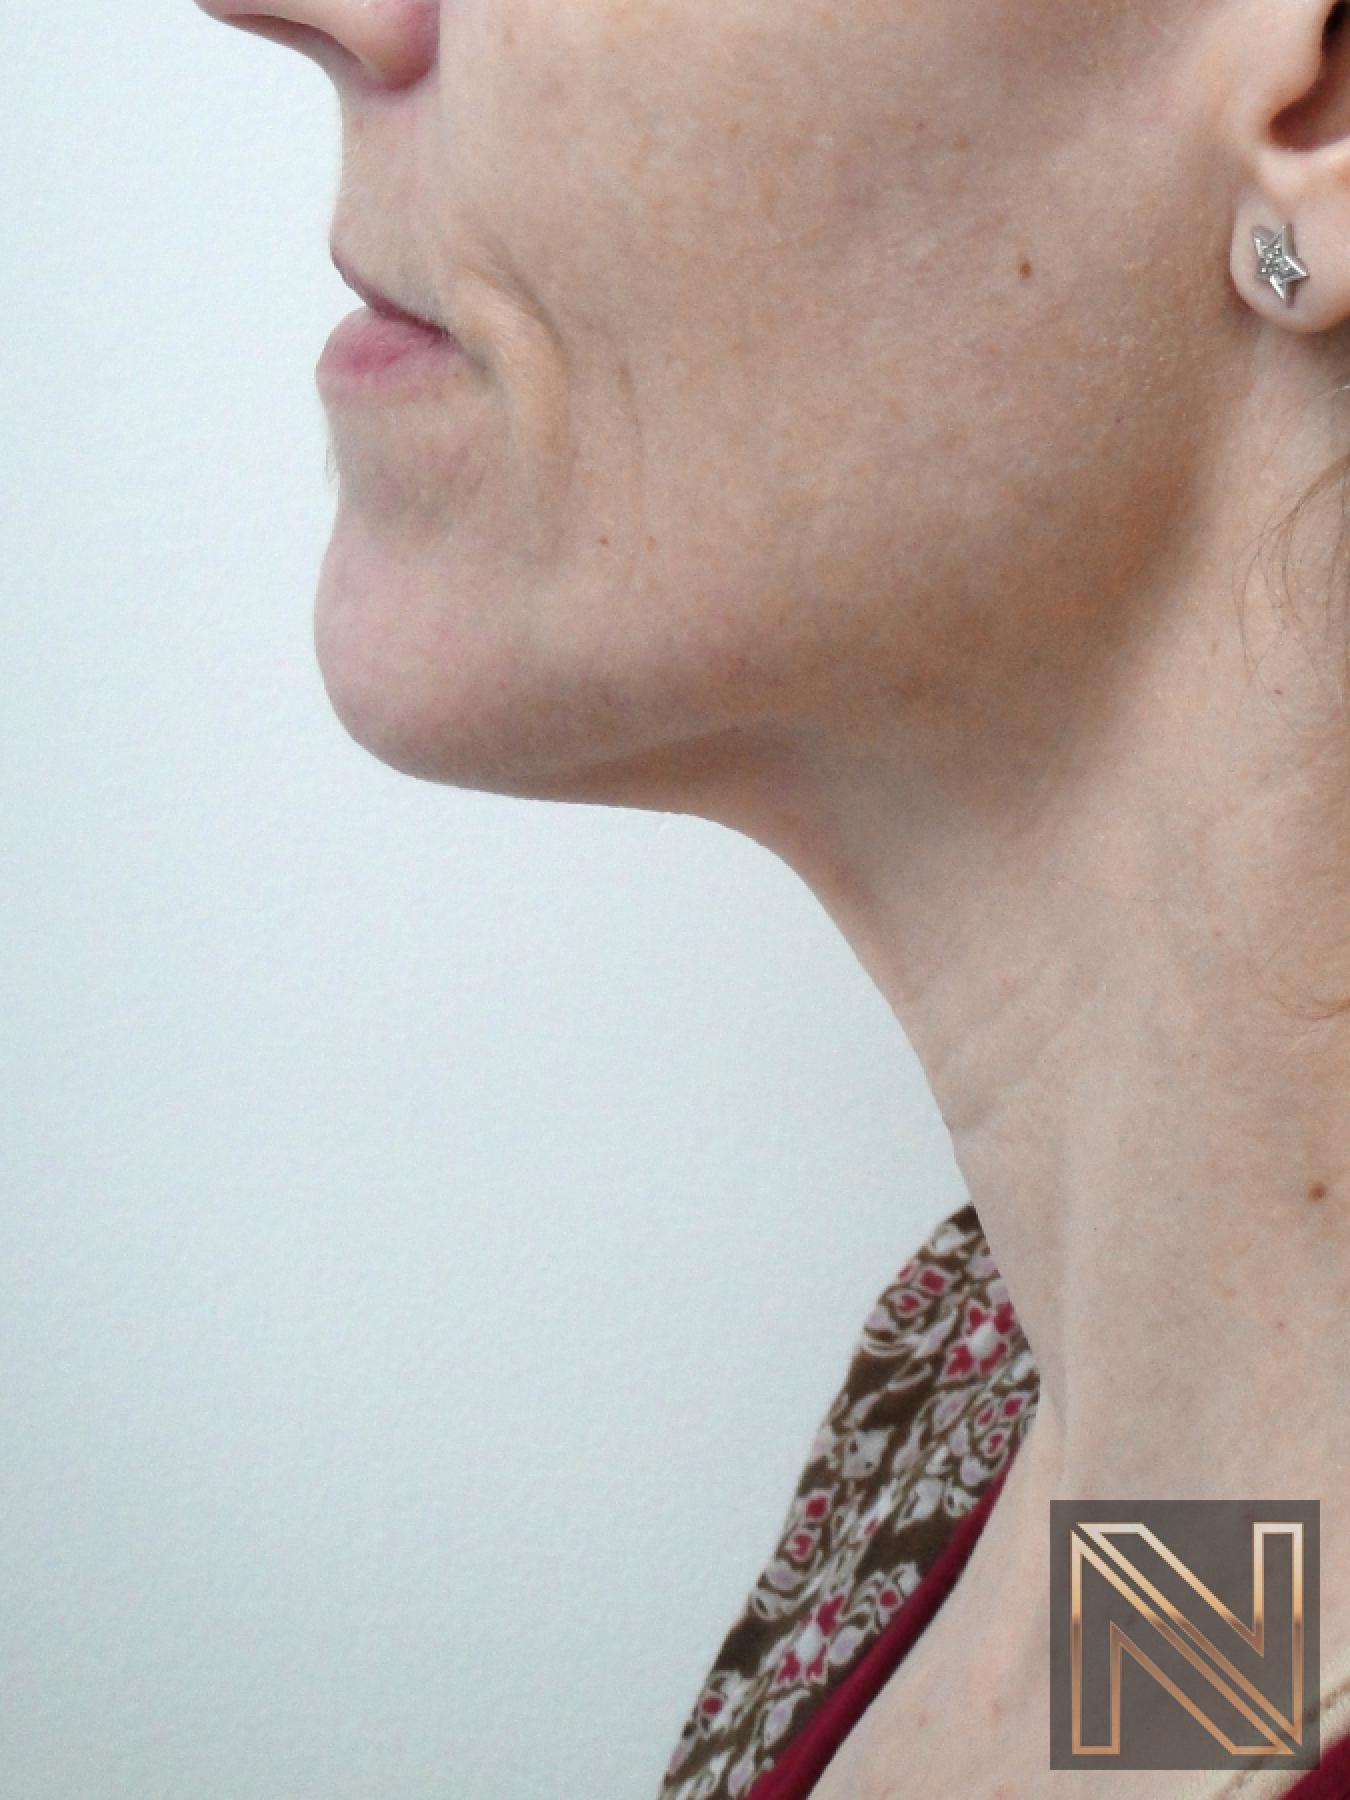
Ultherapy® Before & After Gallery
Click on the before and after sets below to get more details on each case.
Ultherapy®: Patient 1
Ultherapy®: Patient 2


Click on the before and after sets below to get more details on each case.